

Sunday, October 30, 2011
158.365

Tuesday, October 11, 2011
156.365

Saturday, October 8, 2011
155.365
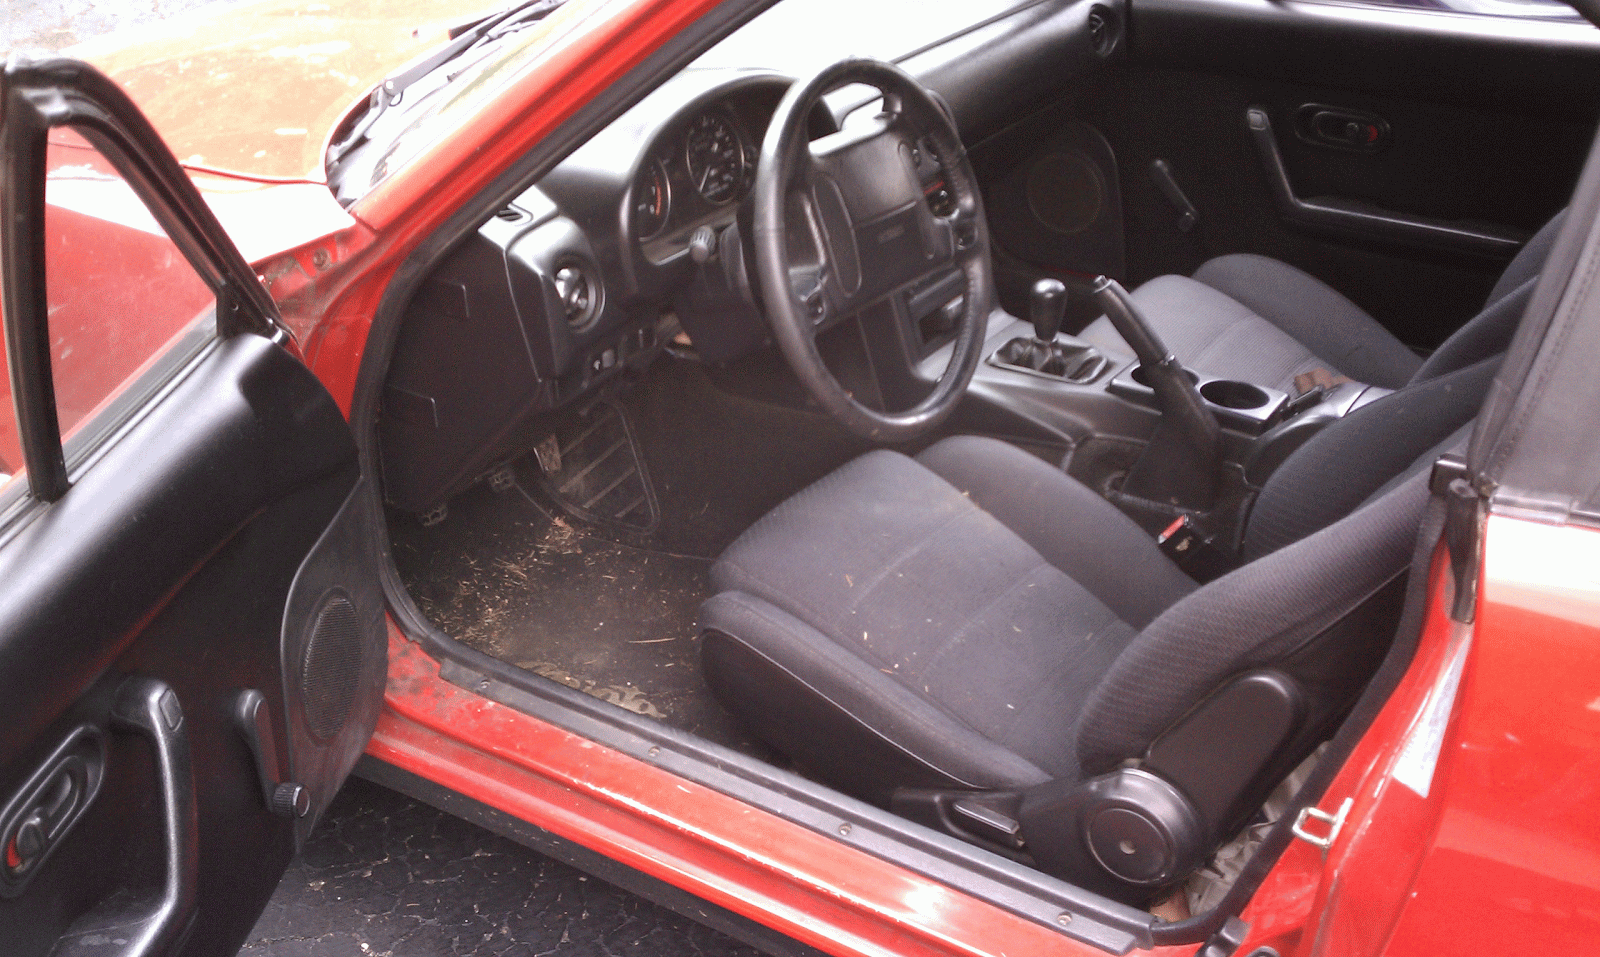
Miata Rehab project #3: interior
The Miata was designed to mimic vintage British sports cars but have the ease of Japanese engineering and reliability. They kept everything pretty minimal, including the interior. I've always liked it to be simple, but I decided to add a little interest. Not bling, just details.
I took the interior door panels off and ripped off the old vinyl on the bottom. I bought a yard or two of black carbon fiber vinyl and used the old pieces to make a template to cut new ones. I glued the new pieces on and reassembled the door panels.
I wanted to add some interest to a few of the interior pieces, so I used a flat gray DupliColor vinyl paint to spray the piece that cups the door handle, the upper part of the armrest, the speaker covers, and the vent rings (to bring the color around instead of isolating it on the doors).
 I also used some leftover carbon fiber vinyl and sewed a new shift boot cover. The old one was ripped and sad looking, so I took it apart and used the pieces as a template for the new one. I sewed it with red thread to pull some red inside. I also bought a new shift knob to brighten it up a bit.
 I went a little spray-paint-happy and cut a stencil and added some Ms to the back of the seats with a light, fading spray for a little more interest when the top is down.
 |
| before |
I took the interior door panels off and ripped off the old vinyl on the bottom. I bought a yard or two of black carbon fiber vinyl and used the old pieces to make a template to cut new ones. I glued the new pieces on and reassembled the door panels.
 |
| after |
 |
| after |


Friday, October 7, 2011
154.365
Miata Rehab project #2: Faded seats
I've got a base model Miata with cloth seats. I've flirted with the idea of trading my car for a limited edition model of a similar year, but all of those come with leather seats. And if you've ever driven a convertible on a hot summer day, you'd know that leather is not a good option. I borrowed a steam cleaner and washed my seats, but this is as good as it got. They were starting to turn purple.
So, in looking around online for rehab tips, I found a fabric/vinyl dye that's spray paint. I'd read many positive reviews so I decided to try it. I think I spent maybe $15 on two cans of black. I taped off the vinyl edges so only the cloth was exposed. I haven't been able to get a good angle to photograph the "after" effect, but it's a pretty striking difference. I am not sure how long it'll last. We'll see.
 |
| before |
 |
| after |
Thursday, October 6, 2011
153.365

Miata Rehab project #1: broken back window


Wednesday, October 5, 2011
152.365


Subscribe to:
Comments (Atom)